The trick to saving a dying orchid
Here’s the step-by-step method to save your orchid in trouble:
1. Check the roots
Remove the plant from the pot and inspect the roots.
Healthy roots: They are green or whitish and firm.
Rotten roots: These are brown, soft, and should be removed. Use sterilized scissors to trim off any dead or damaged roots.
2. Prepare a regenerating bath.
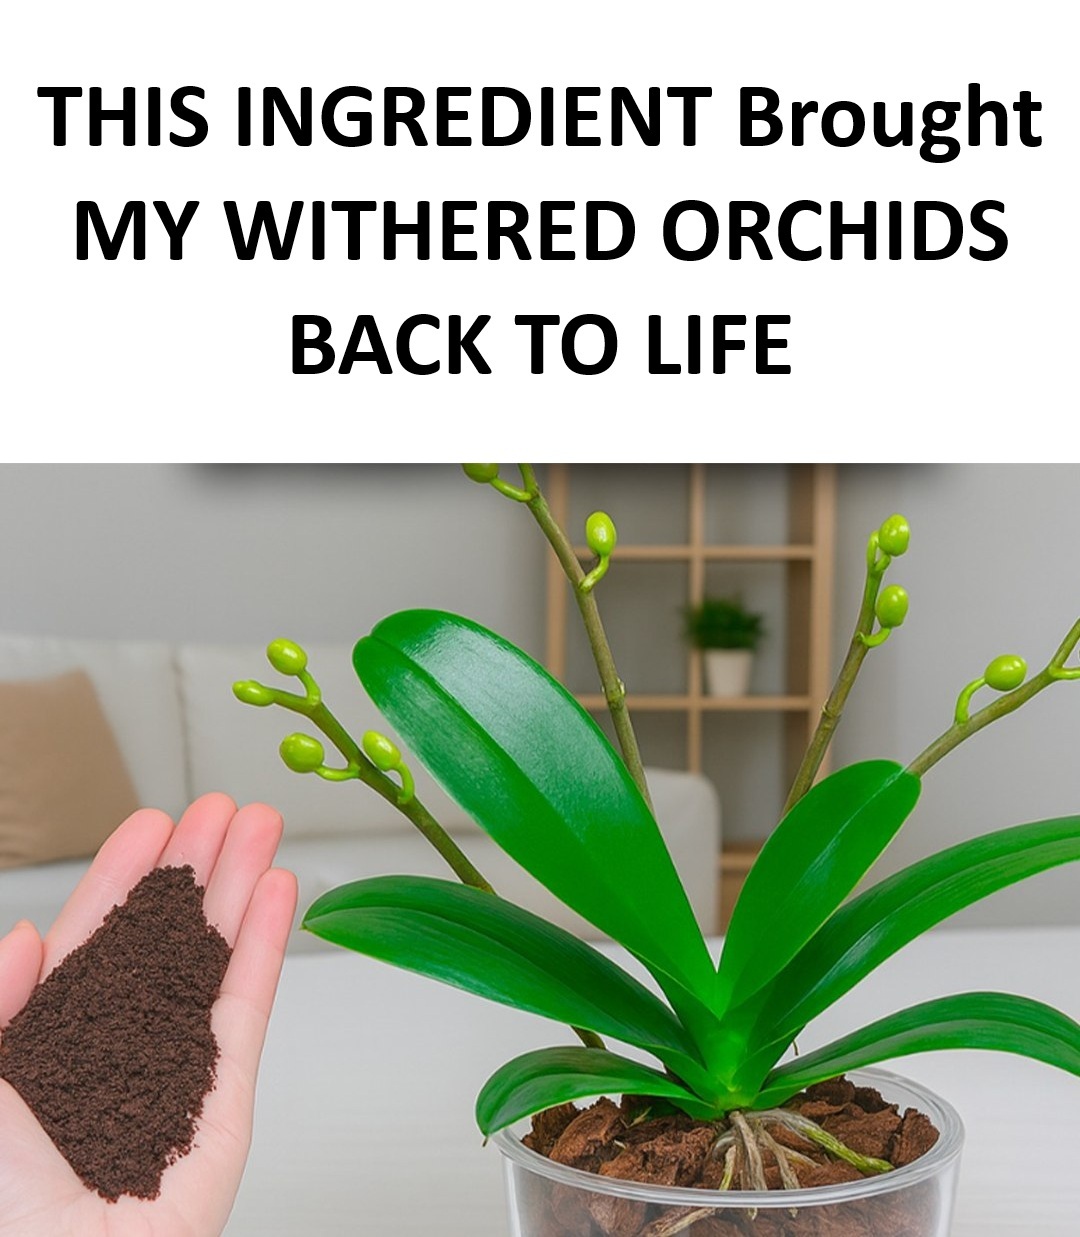
Soak the orchid (only the roots, not the leaves) in a basin of warm water for 20-30 minutes. Add a few drops of specific orchid fertilizer or a pinch of ground cinnamon to prevent fungal infections.
3. Change the substrate
Repot the orchid in a fresh, airy substrate specifically for orchids. Use a transparent pot with drainage holes to monitor the condition of the roots and ensure good air exchange.
4. Place the orchid in the right spot.
Place it in a bright spot but out of direct sunlight. An east- or west-facing window is ideal. Maintain a temperature between 18°C and 24°C and moderate humidity.
5. Water properly.
Wait for the substrate to dry out before watering again. A clear sign is when the roots turn silvery. Use room temperature water, preferably non-calcareous, such as demineralized or rainwater.